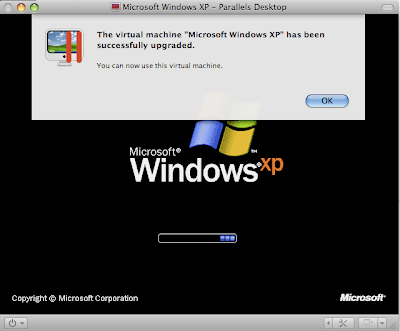
After getting Parallels 5 from Mininova, one of my favorite torrent sites, I went about upgrading to Parallels 5 and figuring out how to migrate my Windows XP virtual machine created with Parallels 3.
If you got the DMG (disc image) from a torrent,
I recommend first burning this to a CD before beginning, because that was the one step that made me pause half-way through the process.Be prepared to allow up to an hour for this process. This does include the time to backup your virtual machine to an external hard drive.
The whole process took me about 40 minutes until my virtual machine was converted and ready to be used again. This 40 minutes included 10 minutes to burn and verify the CD from the DMG file on my MacBook Pro.
Backup your old Parallels VM to an external drive.My Windows XP virtual machine was only about 12 GB. Make sure to backup yours to an external hard drive before beginning. This will save time later. Copy the whole Parallels folder containing the VM and any Snapshots you have created.
Note:
You will only be able to back this up to an external drive that is Mac formatted. Most external drives come pre-formatted in FAT32 which does not support files larger than 4GB.Install Parallels 5It installs pretty quickly from a disk image.
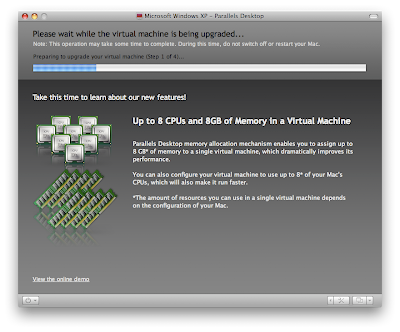
Disconnect from the internet before doing entering the serial number for activation.Open Parallels 5 and then open your virtual machine created with Parallels 3 or 4. It will prompt you to begin the conversion to the new virtual disk format. Shown below is step 1. Parallels 5 will prompt you to backup the old version of your virtual disk before continuing, in case anything goes wrong during the conversion process.
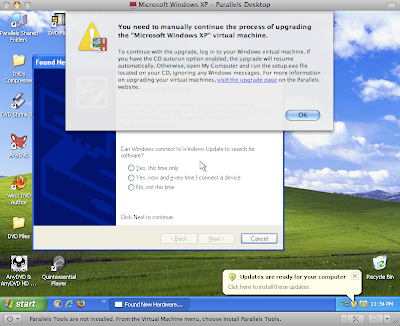
 Install the new version of Parallels Tools with the Parallels CD.
Parallels will load the virtual machine and then prompt you to "manually continue the process of upgrading the virtual machine". Click Ok, insert the Parallels CD (you should have burned earlier), and ignore any Windows messages. (Follow the instructions that Parallels provides.)
 Sit Back and Let Parallels Complete the Process
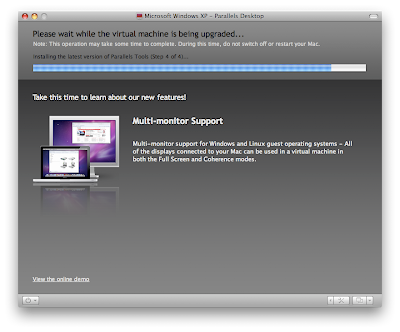
After running the setup from the Parallels CD, the rest of the process appears to be automated. It will go through two more steps show below and then finish. This should take a few minutes, depending on your configuration.
 Voila. Your virtual machine is now migrated to Parallels 5.
It you're upgrading from Parallels 3 you should notice several changes in the interface and huge improvements in the speed of the virtual machine. I noticed that is was no longer suffering from graphics lag issues that plagued Parallels 3.